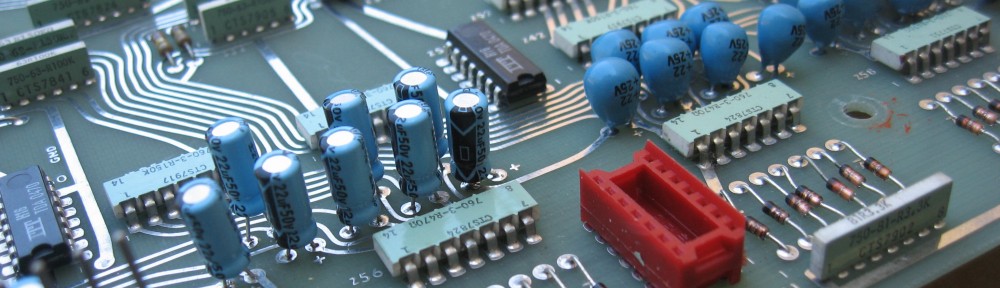
Synthesizers of this era relied on mechanical components to select and vary controls. Toggles to switch between settings or switch them off, sliders and pots to vary resistance and incrementally change the magnitude of a filters effect/strength of amplification/rate of change etc and momentary switches to change logic states. This afternoon I removed and cleaned up all the momentary switches that control the wave forms, chorus settings, presets and write capabilities. If this thing was a little cleaner I would have cleaned them on the boards, but as can be seen below, the boards are pretty dirty and removing them was only a few minutes work.

Pretty gross build-up on these switches and on the circuit board below them. I pulled the middle switch the other day to see why it didn’t work -it was missing the little contact button. There’s one of those Hitachi HD14051BP’s that are probably about to hit the endangered IC species list.

These guys are an earlier style of switch Roland used. The ‘Key Transpose’ is a momentary switch, changing a logic state to transpose the key while the ‘hold’ and ‘arpeggio’ switches have a detent for on or off.

While I’ve been at other tasks I have tried out some plastic whitening recipes. This afternoon -after two days soaking in this solution with it in the sunlight, all but the white buttons look good as new -and the white ones are 80% improved.

Here are the switch parts all lined up after being cleaned with Simple Green. Nothing dries like sunlight and time.

I’m trying to decide if these foam blocks that live under the colored caps are meant to keep dust out of the switches, help the little springy rubber contacts push the white part of the switch up or something else. I am a few short and will have to make some.

That little blue-green deal inside the switch body acts as the holder for the graphite contact, a dust protector and a return spring. I need one. Don’t know where I’m going to find one. Anybody got an extra?

Assembly procedure is simple: put the little blue-green contact in, slide the white inner switch slider in, put the piece of foam in the open side then snap the cap on.

Here they are all lined up and ready for action. I have a few more to remove from the other board -I ran out of de-soldering wick of the appropriate type.
I’ll be digging in to the panel circuit boards tomorrow to replace some capacitors, reinstall these switches and some general clean up.

Awesome restoration job! This is really interesting. I have a Juno-60 that needs minor restoration, including new end cheeks. I’m going to make my own.
I was planning on whitening the white button caps on mine. You did whitening, but your blog implies that you did whitening to all of the switches, not just the white one. What was the reason for this?
Thanks for posting. I’m looking forward to the next installment!
Mike-
The switches all change color with exposure to light -you can see it especially in the gray and white ones turning brown. From what I have read this is Bromine (used as a fire retardant) coming out of the plastic. So rather than calling it whiteneing you might call it discoloration removal.
Do you have an extra one of these switches? The little graphite contact was missing from one of mine -maybe the last little piece in the puzzle.
Thanks for stopping by.
Matt
Thanks for the clarification. I’ll go ahead and do the soak on all of my switches.
I have a broken calculator that I took apart a while back. I’m pretty sure it uses graphite pucks with an elastomer cover. I have it at my desk at work. I’ll see if I still have some of the pucks. They might work.
I own a jun0 60, but one patch button does not work. You seem to have been able to dismantle all the patch switches on your restoration. What’s the prospect of being able to fix this one faulty switch – how can I know if it is going to be repairable ?
Regards, NEil
May I ask what your whitening solution was composed of?
Cheers,
James
Look up retrobright – hydrogen peroxide, oxy clean and UV light are the basics