Calibrating and tuning a CS-50 (and I assume the other nearest siblings) is an iterative process. There are pitfalls at every step, and when you finally reach the end you get a nice easter egg -a tuned 4 (or more) voice synth! In the last post I quickly diagnosed why my CS-50 didn’t make a sound -having the TU (tuning) voltage jumped to ground. This post is about other problems. The CS-50 circuitry has a lot of functions that are distributed among a couple of boards, so you may find you have a tuning problem originating in your SUB board, or a portamento problem originating from your PRA board. Well, I had a TU problem coming from my SUB board – no matter what I tried, I got 6.5 volts at the TU terminal -trim pots had no effect… this terminal is supposed to be 4.000 volts. Lots of head scratching and component replacement later I decided to just order a CS-50 SUB board from synthparts.com -a handy side effect of CS-50 voice boards being worth $400 – $500 each, making the CS-50 worth about 2x it’s ‘complete working’ value in parts is that CS-50 specific parts are CHEAP. I got a complete front panel and lower chassis in like new condition for $150 while I was at it. Too much money probably, but not bad really if you just want to fix your cheaply obtained synth that just happens to be worth more as parts.
Part way through a power supply recap. I am told the small value green caps don’t really tend to fail, and to leave them alone. After the recap it’s a good idea to look at the rail voltages again just in case.Okay, so what did I learn from voice tuning? Well, I made a map of which VR trims which note in which octave on the board and followed it. Much better than looking at a number in a paragraph over and over and trying to figure out which one it is on the board by reading obscured printing under the VR. As far as the individual boards goes, you try and tune in order, but sometimes the key preference or note repeat logic screws you and you end up turning the wrong trim pot -as in you may be detuning a note on a card you just got in tune. In these cases I played through the notes until I found the one I’m turning the trim pot for and finish that job since I’ve already messed it up anyway. There is effectively a trim pot for the C in every octave. Next there are baseline settings for attack, decay etc that you use an oscilloscope to tune, but I couldn’t get the scope I have to show the waveform, so I intend to tune by ear.
Once the boards were all in tune on all octaves, I set to the task of making it look good since it is more or less playable, unless you want to play the presets -very few of them work correctly.
Here I am at the midpoint in the panel replacement. There are a lot of screws to unscrew to remove all the components from the panel. I need an electric screwdriver. It’s strange that you can get used to a bunch of wiring chaos like this and it becomes not scary.
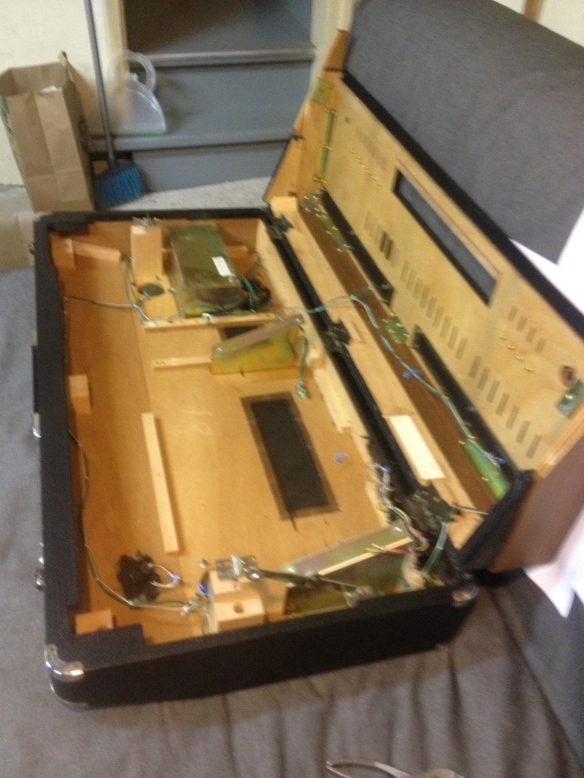
Here’s the other ‘good’ chassis -by good I mean the tolex has no tears. Plan is to move the good panel to the complete synth, and get everything wired to it, then transfer all the stuff in the bottom of the bad chassis, along with the panel to the good chassis. Will require help.
Hopefully the big change over will happen in the next few days and I can get back to finishing the tuning job and figure out why the presets all sound so bad (or don’t sound at all).


Dude. you should post a pic of your trim map. 😛 hint hint eh? or send it to me